Since the beginning of the year, I’ve been honing my ‘Modern Improv’ techniques on some exciting quilt projects. You may recall, several Cheryl Arkison workshops, which were crazy fast-paced fun. Then, the more relaxed session with Tina Michalik, who taught an easily scalable Improv block and quilt design. Now with my mindset primed, I recently began another ‘Improv Journey’ that will undoubtedly keep me busy well into the next year and beyond!
Improvisational Quilting isn’t new by any stretch of the imagination. Quilts have been sewn without patterns from clothing scraps and remnants for many years. However, Ms Sherri Lynn Wood recently published a book directing modern quilters to consider sewing quilts using ‘scores’ and parameters instead of patterns and rulers.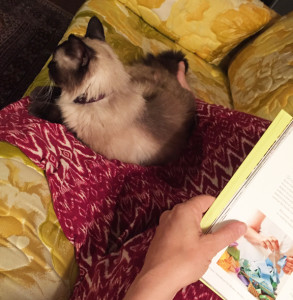 Working without a set pattern makes me particularly giddy after focusing on my traditional Shaded 4-Patch and Carpenters Wheel projects in previous years. My life has been a blur of HSTs (half square triangles) for SO long!
With a small group of like-minded quilters, we dove into the first score: Floating Squares. Each of us had a different approach. One study is monochromatic, another switched up fabrics in different quadrants, while the third is small and luminous. Mine of course, is different.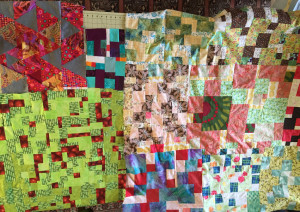
Right. It seemed like an easy place to begin. Yet, while everyone else worked with squares, I opted for an adaptation right out of the gate. Yes, you guessed it: triangles!
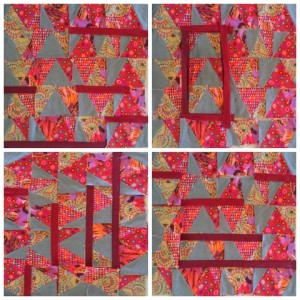
To be fair, my original idea was to sew the equilateral triangles into square-ish blocks. It might’ve even worked. Except that I wasn’t keen on those weird half-triangles in the mix. I contemplated burgundy strips briefly, or burgundy background filler, but the shapes just didn’t speak to me.
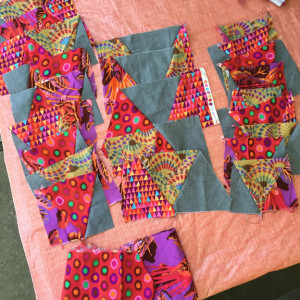
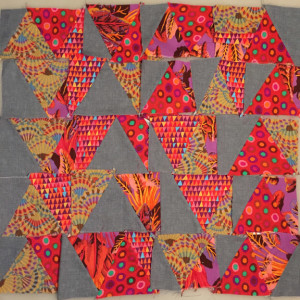
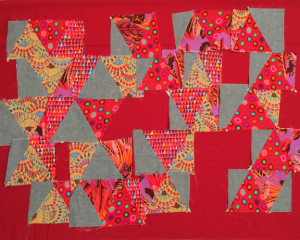
I spent the better part of the week puzzling how to fit triangle pegs into square holes, when it dawned on me to just sew them into triangle sections. Leafing through my sketchbook, I found inspiration from Cheryl’s Pinwheel Play workshop where I’d drawn a triangle pyramid, and put my questioning mind at ease.
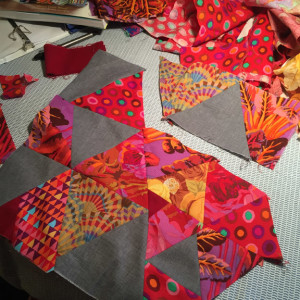
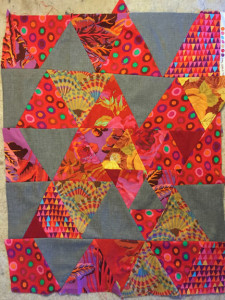
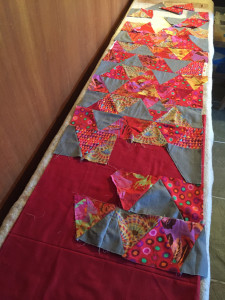
With my triangle parameter in place, piecing progressed and the puzzle almost assembled itself at times! I’d some triangles already cut and assembled, but often I’d just sew a fabric wedge that fit, and then cut the triangle. Everything seemed to work best when I listened to the fabric without letting my mind over-design.
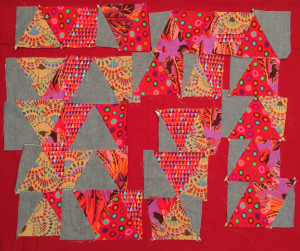
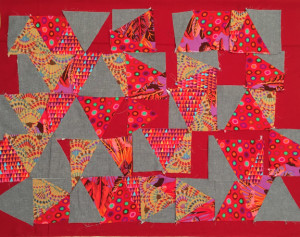
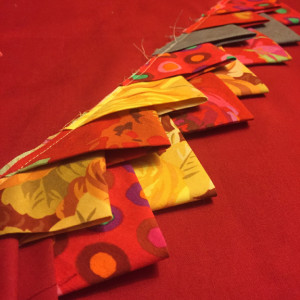
As I worked, piecing these curious triangle rows, I started to consider how to make the flip side just as fun. Looking over what was left, I found many little pieces and just enough burgundy to finish. It also occurred to me that I might need Prairie Points! 😉
Once both sides and Prairie Points are finished, it’s time for a quilty sammich! Very often, Shiitake will supervise the assembly process from my lap. Good kitty!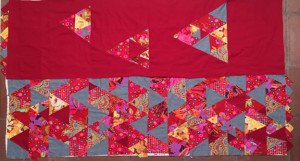
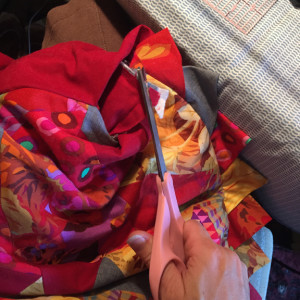
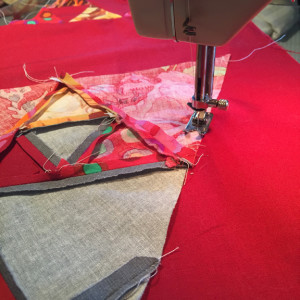
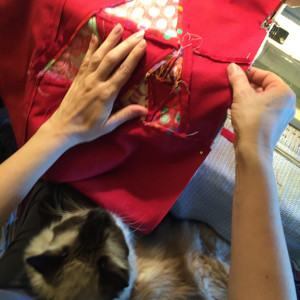 Here’s the tricky part: I make an integrated hanging sleeve so it will be completely reversible and displayable to boot. Sorry there’s no process photos, but when I ‘pillow-top’ a quilt with Prairie Points, it’s fairly easy to make the sleeve and sew it at the top edge first. Skipping the sleeve opening, I sew the sammich down and around until I reach the other end of the sleeve. I check that I’ve caught all the Points, trim the bulky corners and flip it right-side out. (This rather looks like I’m trimming dinosaur claws, doesn’t it?)
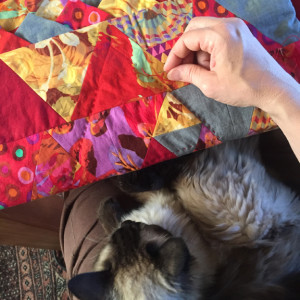
 Anywho, as I’m hand-quilting, Shiitake has decided to check out my big stitch.
to be continued…

Wonderful explanation of your process. The photos are so helpful in showing your steps and thoughts. I love the triangles instead of squares. Can’t wait to see it quilted.
Thank you! I’m happy to share this process. It’s been quite a journey! I’ll update with quilted pictures soon.